

How to start a ham at home
How to start a ham depends on how quickly it will be eaten, and there are two different cutting areas to start from. We define these two starting areas according to how the ham will be used.
- For family consumption (average consumption time 1.5 – 2 months)
- For catering (average consumption time under 3 days)
But before you start carving the ham, the first thing we need to do is get the best tools:

Buy a ham holder for carving ham

Buy the best hams and start carving ham

Buy a ham carving knife for carving ham
How to start a ham for family consumption
Once you have chosen and bought a good ham, it is essential for proper enjoyment to carve it correctly so that you can appreciate the full potential of Ibérico ham.
Where should you start a ham?
When the ham is for family use, and will be eaten over about 1 month, we recommend starting to carve the Ibérico ham from the babilla, as this part of the ham is more cured and less juicy, with subtler aromas. Place the ham in the holder with the hoof pointing down so that the babilla area is at the top, ready to start cleaning the ham.

Starting the ham from the babilla
How do you start cleaning a ham?
It is essential to clean the ham according to how much you will eat. The fat removed when cleaning helps the ham keep properly, so it is best not to clean a larger surface than the one you are about to carve. We recommend doing this with a skinning knife.
How do you start carving a ham?
Carving ham is an art, and for it you need a well-sharpened ham carving knife that lets you slice without effort. For a perfect cut, the knife must always be held flat, cutting slices as thin as possible and measuring about 6 cm wide by 4 or 5 cm long.
How do you store a ham?
To keep the ham juicy and in optimum condition, it is essential to stop it drying out and oxidising because of unsuitable temperatures. The best way to do this is to cover the ham with the slices of fat you cut off, rubbing the ham with the fat, or, as a last resort, use cling film.
Do you now know where to start a ham and how to carve it at home?

Go to our shop and buy the best hams and tools for carving ham
If you liked it, I would be grateful if you could give a Like, G+ or share on any social network linked to this article on how to start a ham and I will write a more detailed article on the whole process. Thank you, ham lovers!
A promise is a promise! Here is a more complete article with pictures of the whole process:
How to carve ham – Cleaning, slicing and care
The new article has been created as an information page and cannot be commented on. If you have any questions, queries or improvements I could make, you can write to us in this article. Let's carve some ham, fellow ham lovers!!
And for those who don't know how to carve a ham properly and would rather have it already sliced and ready to serve, we offer the following options:
-
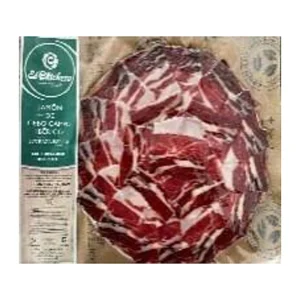 Sliced Ibérico Free-Range Grain-Fed Ham «El Chichero» – Gift Box of 10 Packs of 80 g62,95€
-
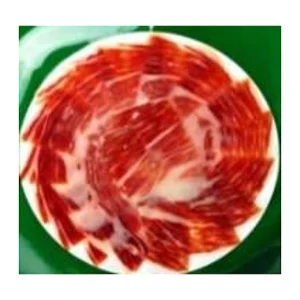 Hand-Carved Portion of Ibérico Free-Range Grain-Fed Ham «El Chichero» – Box of 12 Portions86,95€
-
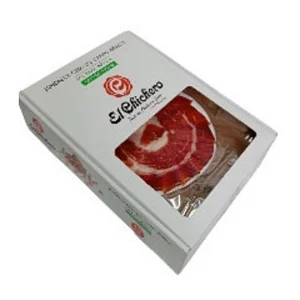 50% Ibérico Free-Range Grain-Fed Ham, Hand-Carved and Sliced, «El Chichero», Gift Box of 12 Packs88,95€
-
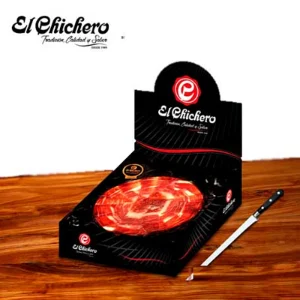 50% Ibérico Acorn-Fed Ham, Hand-Carved and Sliced, «El Chichero», Gift Box of 6 or 12 PacksPrice range: 78,95€ through 156,95€


10 comments
Laura
Hello Jamones de Extremadura! Very good article on the basics of how to start carving an Ibérico ham at home. I look forward to the more detailed article! Thanks!
Maria Dolores
Hello, could you write an article about ham holders? To start a ham it's the first thing we need!
Santiago del Pozo
Hello María Dolores, we have just written an article about ham holders in which we explain all the types and features. You can find it in the Carvers and Ham Holders section of the menu.
Hello to you too, Laura. We are considering whether to write a new article or to edit and expand the information in this one, so as not to duplicate content with another post on how to start a ham or how to start carving a ham. We think it is better to improve this one with a video and more detailed information.
Best wishes, ham lovers!
Javier
Hello Santiago,
Thanks for the article, but it would be more interesting if you gave more detail on each of the steps of how to start carving a ham and the different parts of cleaning the ham and so on. It all feels a bit brief. I look forward to the slightly longer article you mention. Best wishes
Juan Antonio
Excellent explanation! Clear and concise, well done
Josep Castells
In my opinion the photo of the ham positioned for carving that accompanies your article is very misleading. Although you point out that the babilla (flat side) is at the bottom, it could confuse many people, since the ham, in this case, is placed exactly the wrong way round for carving at home….
Santiago del PozoAuthor
Hello Josep Castells,
Sorry for the delay in approving your comment and replying. Lately the comments had been spam and I had not read yours. You are right: as soon as I can, I will change the image so that the babilla is facing upwards and there is no room for confusion. Thank you very much.
Alejandra
I mistakenly started carving the ham with the hoof pointing up. I have only cleaned the area a little, removing the yellow fat. What should I do??? Carry on with that area, or leave it and start the right way, with the babilla, that is, hoof pointing down??
Kind regards
Santiago del PozoAuthor
Hello Alejandra,
Yes, for the babilla to be on top, the hoof must be pointing downwards. As Josep Castells pointed out, to whom I have also just replied, the image can be misleading and I will change it as soon as possible.
As for your concern about having started to clean the ham on the maza (the round, meatier side), in my case I would not worry and I would start carving the ham from that area. After all, we start slicing the ham from the babilla because it is the most cured area, but at this time of year, Christmas, you will surely slice a good part of it, so you will not waste the edible fat of the cleaned part, which would go rancid over time.
Pilar Ríos villas
The explanation of how to start a ham was very clear to me.
Thank you very much